You know that. You arrive at your vacation and you’re given a bulletin, leaflet or a tourist guide from your travel agent. It contains loads of colorful pictures, pub contacts, reviews and also… a map. Hurray, you know where to find the pub, the view tower, the castle. You’ve got Locus in your mobile, why not to use it for navigation? But whoops, how to get that bulletin map into it? It’s no problem to take a picture of the map with your mobile but what then?
Fetch a quality photo
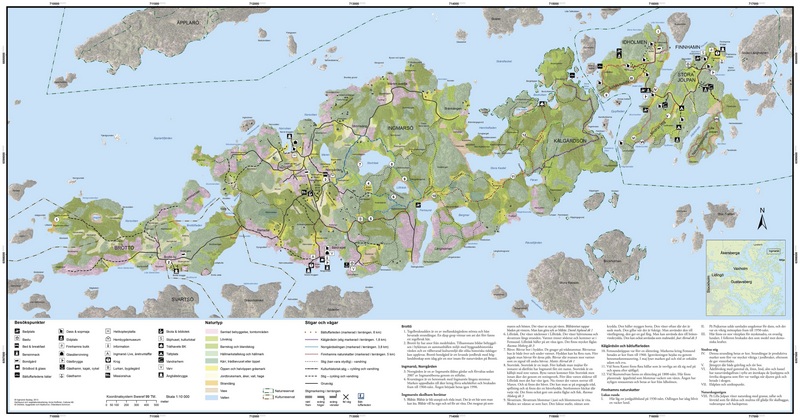
Obviously, you don’t haul a scanner with you to a vacation but rather a decent camera. And if not even that, today’s mobiles boast with equal high tech photo parameters. Anyway, it’s necessary to make the finest possible picture of the map – in high resolution, without flash, without reflections of a window, your face, the sun etc. and from perpendicular view if possible. If you have internet access its recommended to check if there’s a web clone of the map and download it. Then just store the picture in your phone memory or Dropbox.
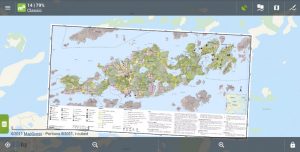
As an example, let’s use this picture of a map of an archipelago near Stockholm that one of our less advanced users tried to get into Locus:
Calibrate it
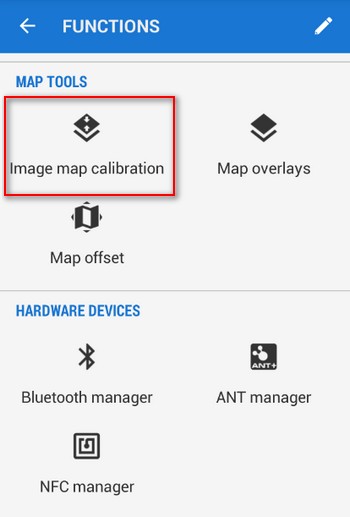
Cali… what? To calibrate a picture means to “pin” it with several points on some georefferenced map and adjust it according to it so that the drawing on the picture is aligned with the lines on the background map. There’s the “Image map calibration” tool in Locus for this process. You’ll find it in the Main menu > More functions:
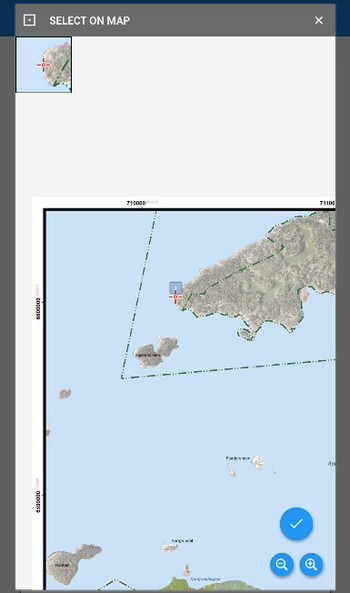
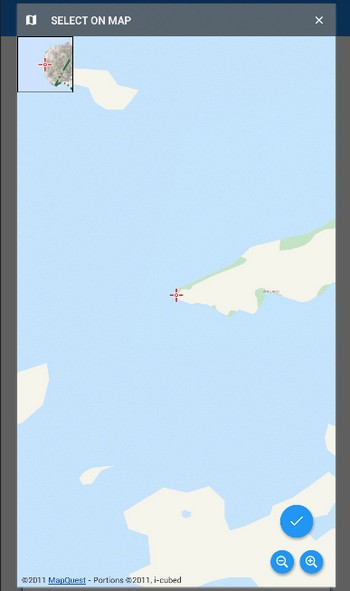
- set any map from your Locus portfolio. We’ve selected classic MapQuest online. Start the Map calibration.
- find your picture in the phone memory or in Dropbox and insert it into the tool.
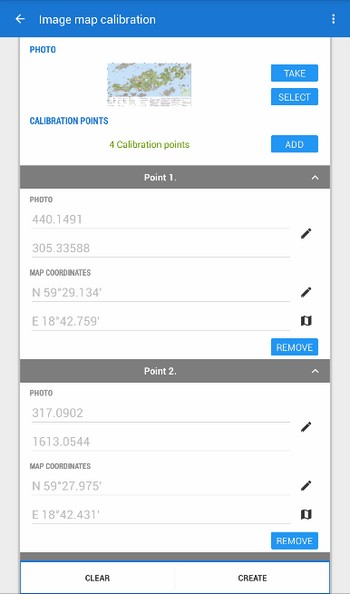
- start to add calibration points – place the points at the same locations on the background map and on the picture. We recommend to select remarkable spots so that you can find them easily – intersections, house corners, tips of the islands in our case. Next it’s necessary to place the points so that they create a rectangle – there must be at least four of them. The more points you place, the more accurate the calibration will be.
When you’re ready, tap “Create”. A summary of the points and their real deviations displays.
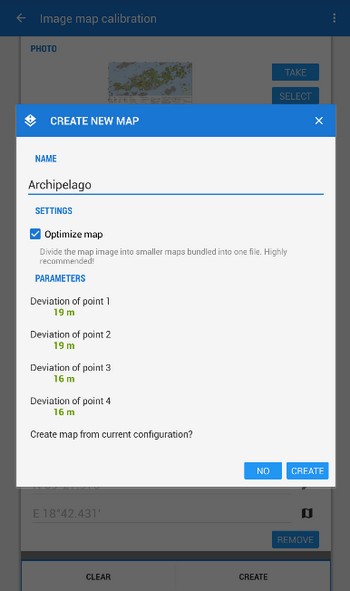
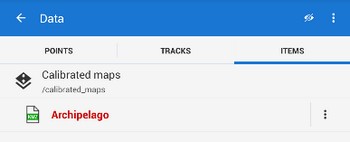
If you’re happy with your work, name the map and proceed with “Create” again. The map is stored and you can find it in the “Items” tab of your Locus data manager.
And the result?

Your picture is pinned as another layer above your background map. Now you can do anything you’re used to do with Locus – record tracks, import geocaches, navigate… Everything you couldn’t afford with the plain paper map.
calibrationmappaper map
0 Comments